How to Set Access Levels
Configure who can see and edit each section of Sealogical, position by position and vessel by vessel.
THE FOUR ACCESS TIERS
- Admin — full access to the vessel, plus the Account Management section where users and access levels are managed.
- Senior Crew — full access to every section of the vessel, and can approve crew leave and Hours of Rest entries.
- Crew — read and write access, but only to the sections you specifically tick for that position.
- Junior Crew — read-only access to the sections you tick.
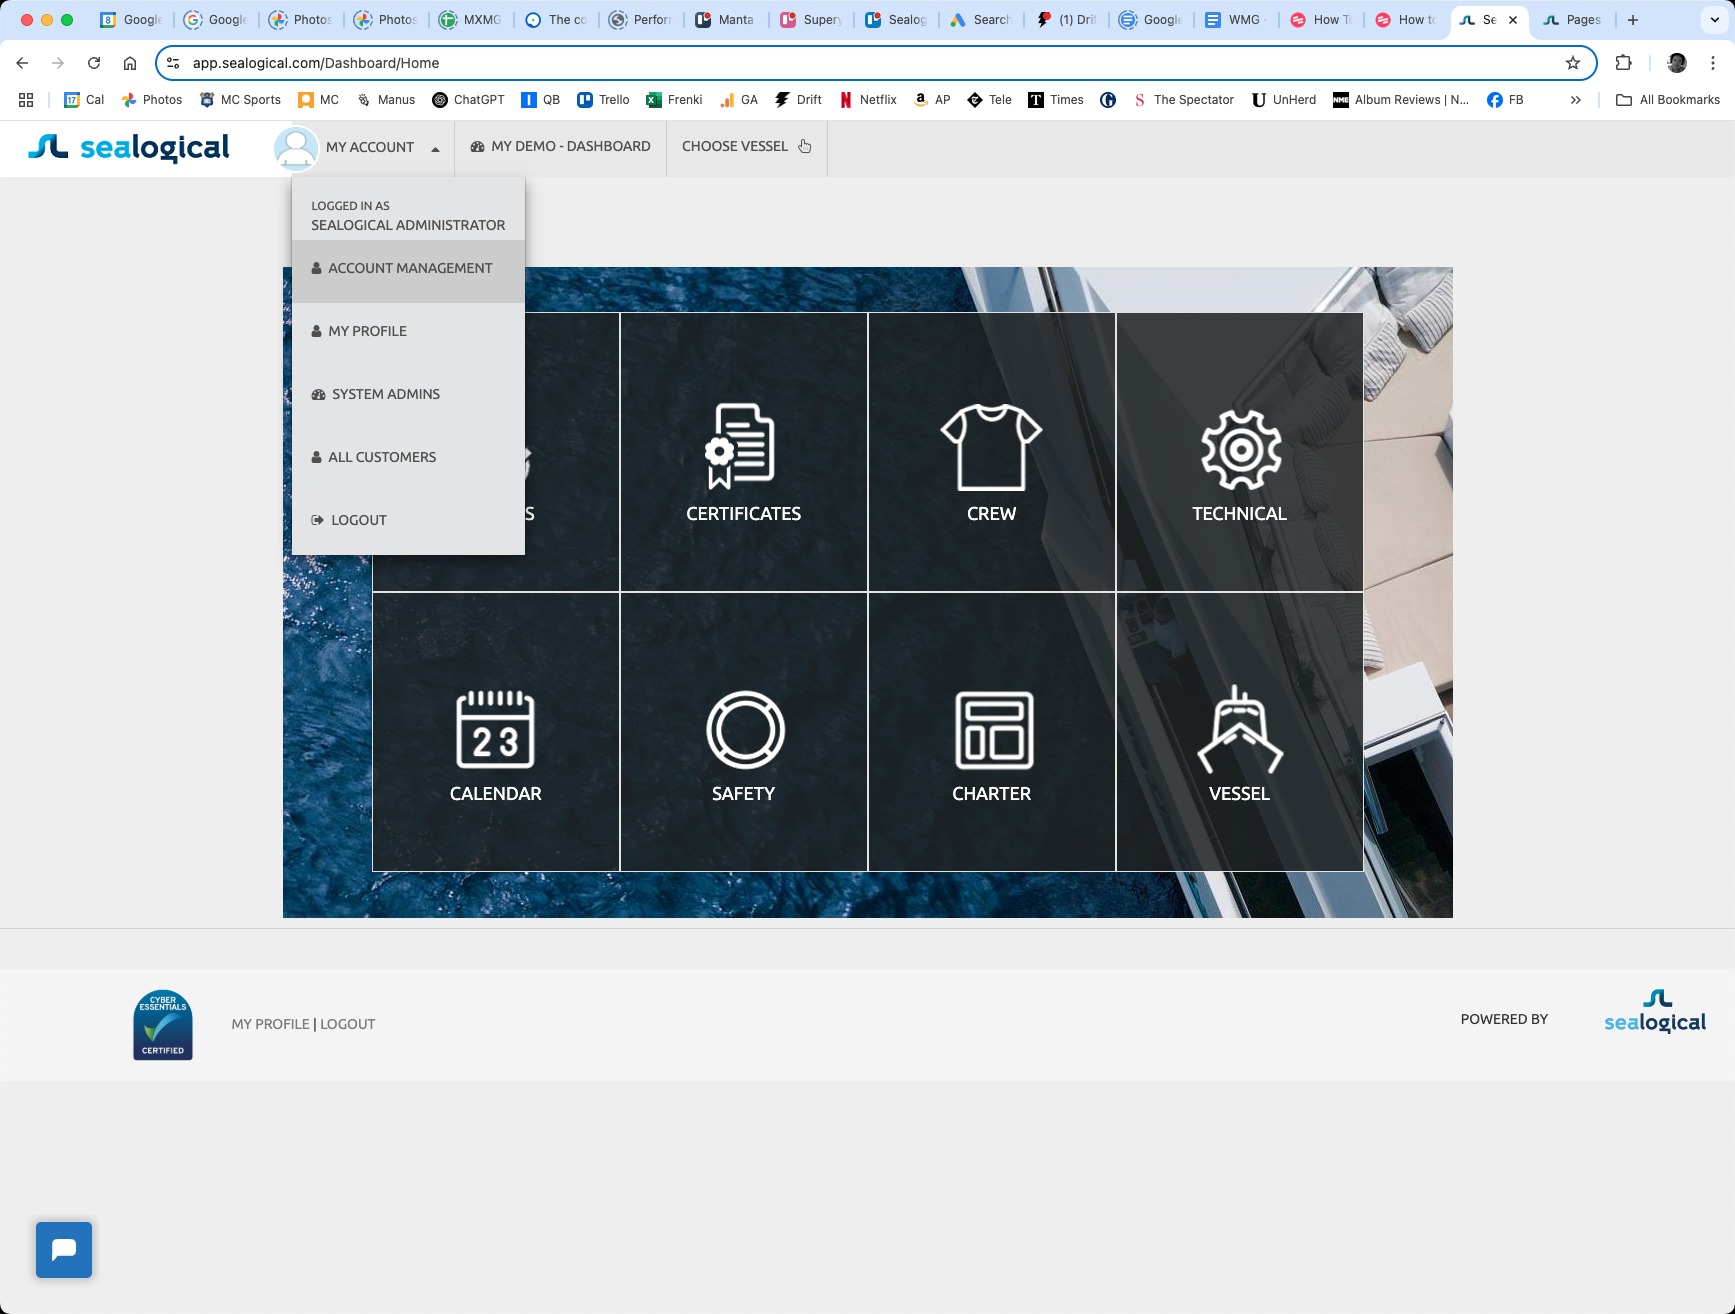
Step 1: Open Account Management
Sign in as an Account Admin, click MY ACCOUNT in the top navigation bar, and choose Account Management from the dropdown.
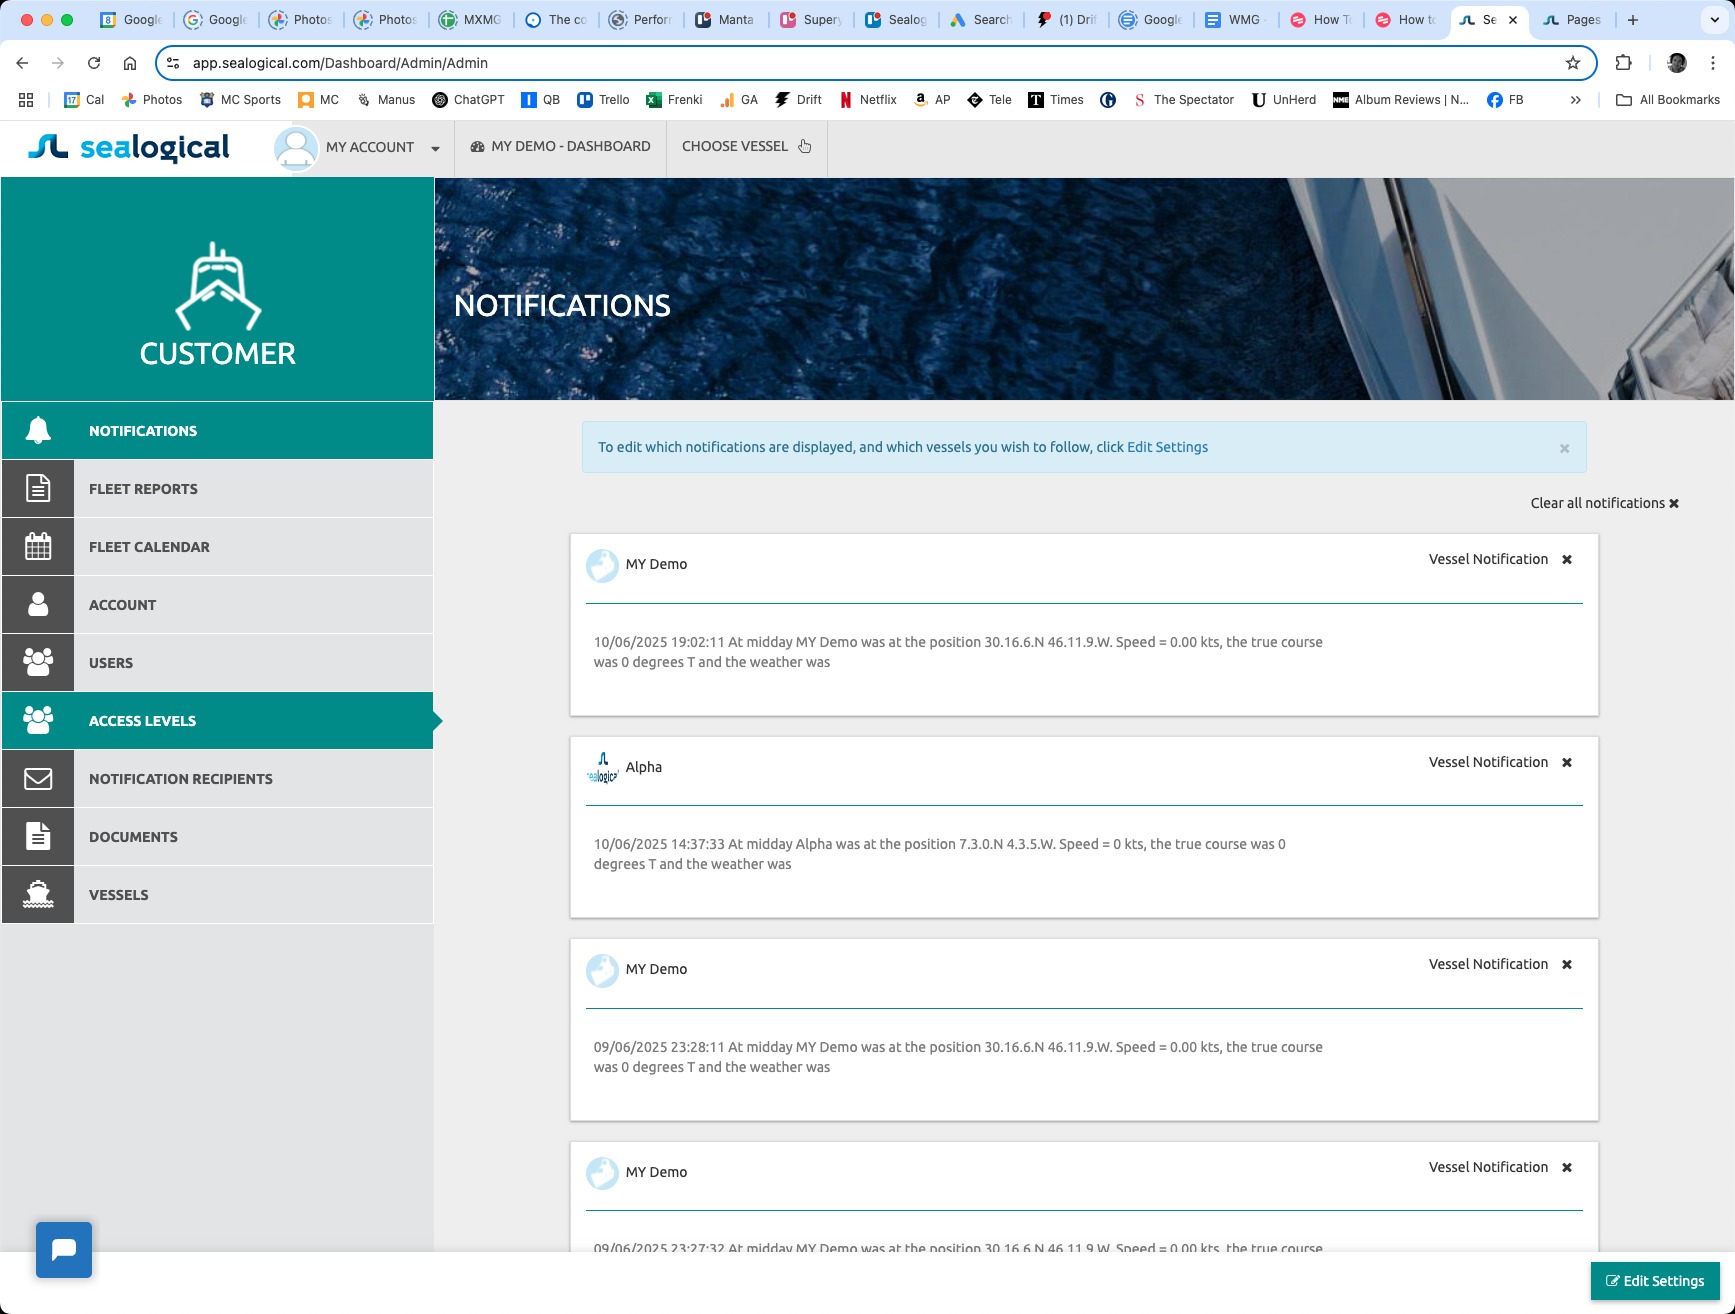
Step 2: Open the Access Levels tab
In the Customer sidebar on the left, click ACCESS LEVELS. It sits between Users and Notification Recipients.
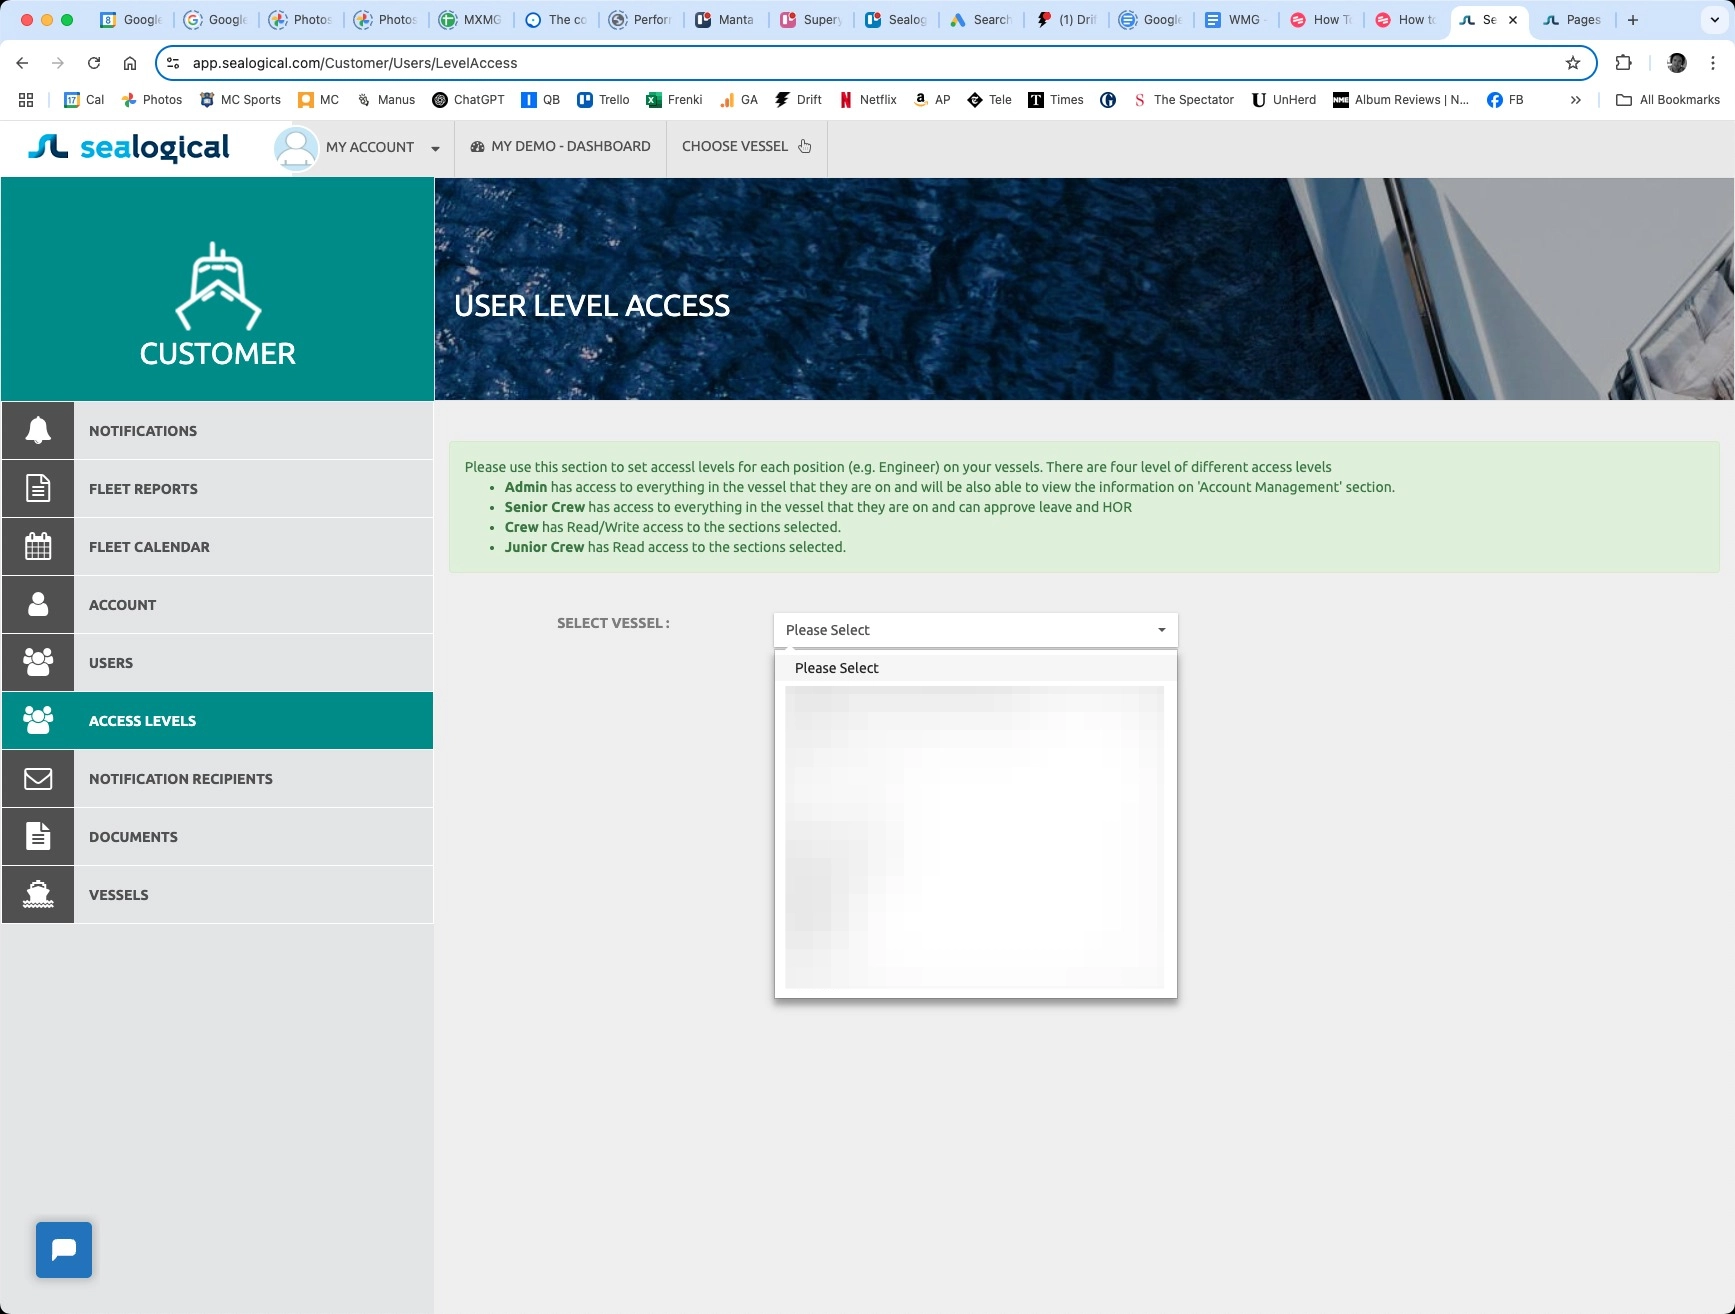
Step 3: Choose a vessel
Each vessel keeps its own access configuration. Pick the vessel you want to configure from the SELECT VESSEL dropdown. The four access tiers are explained in the green panel above the dropdown.
Step 4: Set the access tier for each position
Every position on the crew list (Captain, Chief Officer, 1st Officer, 2nd Officer and so on) has a row with four radio buttons. Pick the tier that matches the responsibilities of that role. Admin and Senior Crew get full access automatically — no further setup is needed for those rows.
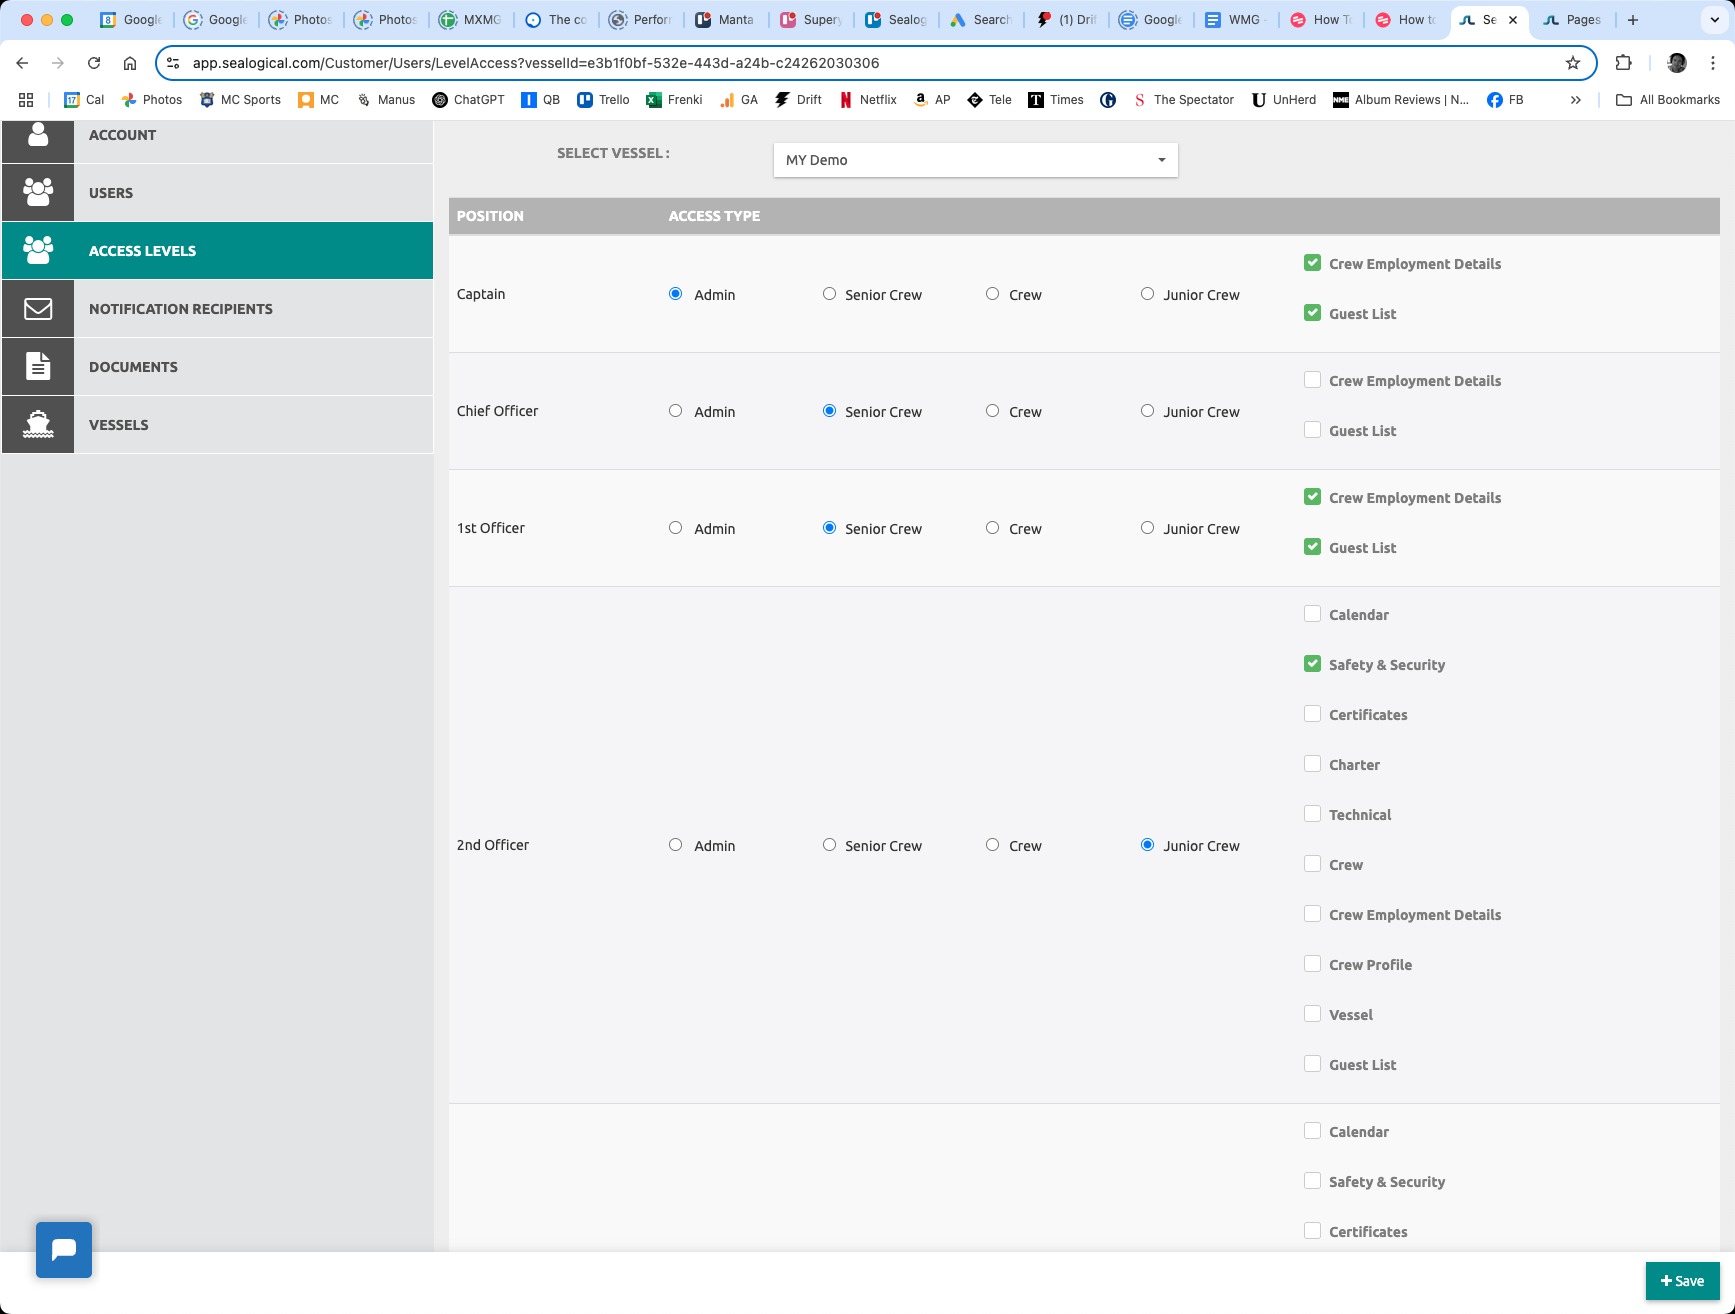
Step 5: Pick which sections Crew and Junior Crew can see
For positions set to Crew or Junior Crew, a checklist on the right shows every module: Calendar, Safety & Security, Certificates, Charter, Technical, Crew, Crew Employment Details, Crew Profile, Vessel and Guest List. Tick the boxes for the sections that position should be able to see. In the screenshot below, the 2nd Officer is being granted Safety & Security, Technical and Vessel.

Step 6: Save your changes
Click the green Save button in the bottom-right of the page. Changes apply immediately — users currently signed in to that vessel will see the new permissions on their next page load.

Frequently Asked Questions
Who can change Access Levels in Sealogical?
Only users assigned the Admin tier on a vessel can edit Access Levels for that vessel. Senior Crew can use every section of the platform but cannot reassign permissions for other users.
Do I need to configure Access Levels for every vessel separately?
Yes. Each vessel keeps its own access map, so you repeat the process for each vessel in your fleet. This lets the same person have different access on different vessels — useful when crew rotate.
What is the difference between Crew and Junior Crew?
Both tiers only see the sections you tick. Crew has read and write access to those sections, while Junior Crew has read-only access. Use Junior Crew for new joiners or trainees who shouldn't be editing records yet.
Will a crew member's access update automatically if they change position?
Yes. Access Levels are tied to the position rather than the individual, so when you reassign someone to a different position on the crew list, they inherit whatever access has been set for that position.
~ Need more help?
Still stuck?
If you can't find what you're looking for, our support team is happy to help.
Contact Support